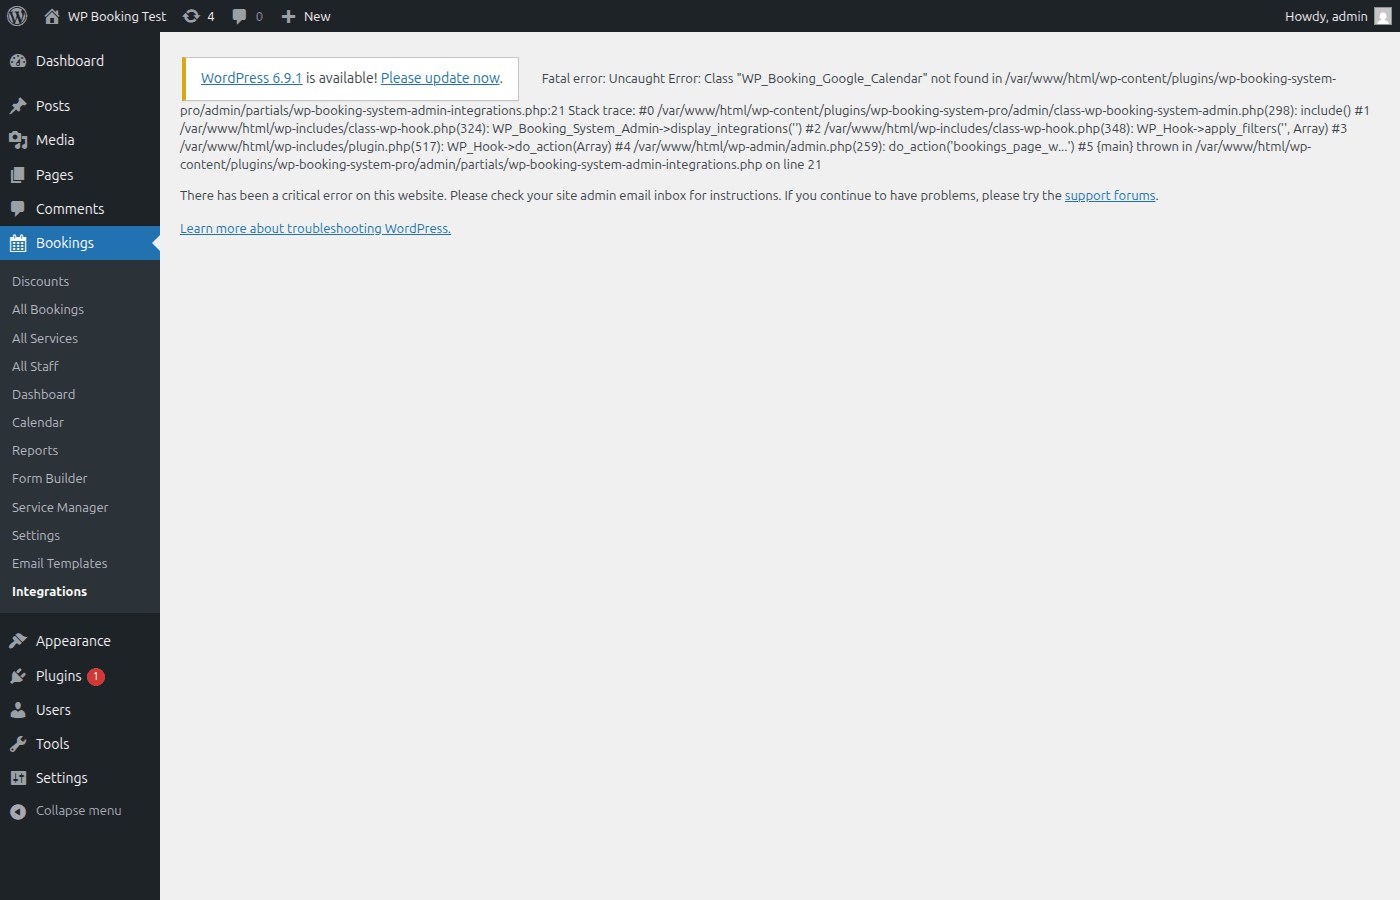
Integrations
Connect your booking system with Zoom, Google Calendar, Google Meet, and more
Integration Overview
WP Booking System Pro connects with leading video conferencing, calendar, and e-commerce platforms so that your bookings stay synchronized across every tool your team uses. Each integration can be enabled independently from the Settings → Integrations tab.
Zoom
Auto-generate meeting links
Google Meet
Video call links in emails
Google Calendar
Bi-directional sync
WooCommerce
Full checkout integration
iCal / ICS Export
Subscribe from any app
1. Zoom Integration
What It Does
When a booking is confirmed, WP Booking System Pro automatically creates a Zoom meeting and sends the unique join link to the customer in the confirmation email. Staff members receive a separate host link so they can start the meeting with a single click.
- Unique meeting link per booking — no reused rooms
- Meeting duration matches service length automatically
- Links included in both customer and staff email notifications
- Meeting deleted automatically if booking is cancelled
Step 1: Create a Zoom App
- Log in to the Zoom App Marketplace
- Click Develop → Build App
- Choose the Server-to-Server OAuth app type
- Give your app a name (e.g., "WP Booking System")
- Fill in the required company information fields
- Under Scopes, add:
meeting:write:adminandmeeting:read:admin - Click Activate to finish creating the app
Step 2: Get Your Credentials
- In your Zoom app dashboard, go to the App Credentials tab
- Copy the Account ID, Client ID, and Client Secret
- Keep these values secure — do not share them publicly
Required credentials:
- •
Zoom API Key— Your app's Client ID - •
Zoom API Secret— Your app's Client Secret
Step 3: Configure in WordPress
- Go to WP Booking System → Settings → Integrations
- Locate the Zoom section and toggle it ON
- Paste your Zoom API Key and Zoom API Secret
- Click Save Settings
- Use the Test Connection button to verify the link is working
Step 4: Test the Integration
- Create a test booking on your site for an online / virtual service
- Confirm the booking from the admin panel
- Check the confirmation email — it should contain a Zoom join link
- Open the link to verify the meeting was created in your Zoom account
- Cancel the booking and verify the meeting is removed from Zoom
Zoom Troubleshooting
- • 401 Unauthorized: Double-check your API Key and Secret. Make sure the app is activated.
- • Meeting not created: Verify the Zoom user account has a Pro, Business, or Education plan (free accounts have limited API access).
- • Link missing from email: Ensure the email template includes the
{zoom_link}placeholder. - • Rate limits: Zoom imposes API rate limits. If you process many bookings simultaneously, space them out or contact Zoom support.
2. Google Meet Integration
What It Does
Automatically generates a unique Google Meet video call link for each confirmed booking. The link is included in both the customer confirmation email and the staff notification, so everyone can join with one click at the scheduled time.
- No extra software required — uses Google Workspace
- Meet link attached to a Google Calendar event for easy access
- Works alongside Google Calendar sync for a unified experience
Step 1: Create a Google Cloud Project
- Go to the Google Cloud Console
- Click Select a project → New Project
- Name the project (e.g., "WP Booking System") and click Create
- Once created, make sure the new project is selected in the top bar
Step 2: Enable Required APIs
- In the Cloud Console, go to APIs & Services → Library
- Search for and enable Google Calendar API
- Search for and enable Google Meet REST API (if available separately)
- Both APIs are needed to create calendar events with Meet links attached
Step 3: Create OAuth 2.0 Credentials
- Navigate to APIs & Services → Credentials
- Click Create Credentials → OAuth client ID
- If prompted, configure the OAuth consent screen first (External type for testing, Internal for Google Workspace orgs)
- Application type: Web application
- Add your site's redirect URI:
https://yoursite.com/wp-admin/admin-ajax.php - Copy the Client ID and Client Secret
Required credentials:
- •
Google Client ID - •
Google Client Secret
Step 4: Configure in WordPress
- Go to WP Booking System → Settings → Integrations
- Locate the Google Meet section and toggle it ON
- Enter the Google Client ID and Google Client Secret
- Click Authorize Connection — a Google sign-in popup will appear
- Grant the requested calendar permissions
- Once authorized, the status will change to Connected
Step 5: Test the Integration
- Create a test booking for a virtual / online service
- Confirm the booking and check the confirmation email
- Verify the email contains a
meet.google.comlink - Open Google Calendar to see the event with the Meet link attached
Tip: Shared Google Credentials
The same Google Cloud project and OAuth credentials are used for both Google Meet and Google Calendar. You only need to create one project and one set of credentials for all Google integrations.
3. Google Calendar Integration
What It Does
Provides bi-directional synchronization between WP Booking System Pro and Google Calendar. Bookings made on your website automatically appear in Google Calendar, and events created directly in Google Calendar block the corresponding time slots on your booking form so customers cannot double-book.
Website → Google Calendar
- • New bookings create calendar events
- • Event includes service, customer, and staff details
- • Cancelled bookings remove the calendar event
- • Rescheduled bookings update the event time
Google Calendar → Website
- • Google events block availability on the booking form
- • Staff personal events prevent double-booking
- • Supports multiple calendars per staff member
- • Sync frequency is configurable
Step 1: Enable the Calendar API
If you already created a Google Cloud project for Google Meet, use the same project. Otherwise, follow the project-creation steps from the Google Meet section above.
- In the Google Cloud Console, go to APIs & Services → Library
- Search for Google Calendar API
- Click Enable (skip if already enabled)
Step 2: Configure in WordPress
- Go to WP Booking System → Settings → Integrations
- Locate the Google Calendar section and toggle it ON
- If you have not already authorized Google, enter your Client ID and Client Secret and click Authorize
- Enter the Calendar ID you want to sync with (found in Google Calendar settings under "Integrate calendar")
- Set the Sync Frequency — options are every 5, 15, 30, or 60 minutes
- Click Save Settings
Step 3: Staff-Level Calendar Sync
Each staff member can connect their own Google Calendar so that their personal schedule is reflected in your booking availability.
- Go to WP Booking System → Staff Members
- Edit the staff member you want to configure
- Under Google Calendar, click Connect Calendar
- The staff member authorizes with their own Google account
- Select which calendar(s) to sync (primary, work, personal, etc.)
- Events from all selected calendars will block the staff member's availability
Configuration Options
| Setting | Description | Default |
|---|---|---|
| Calendar ID | The Google Calendar to push bookings to | Primary |
| Sync Frequency | How often to pull changes from Google | 15 min |
| Two-Way Sync | Whether Google events block website availability | ON |
| Event Title Format | Template for the calendar event title | {service} - {customer} |
Google Calendar Troubleshooting
- • Events not appearing: Check that the Calendar API is enabled and the Calendar ID is correct. The ID looks like
name@gmail.comor a long hash. - • Authorization failed: Make sure the OAuth consent screen is published (not in "Testing" status) or that the Google account is listed as a test user.
- • Sync delay: Changes may take up to the configured sync frequency to appear. Use the Sync Now button for immediate updates.
- • Token expired: Click Re-authorize in the integration settings if the token has expired (tokens typically last 7 days for test apps).
4. WooCommerce Integration
What It Does
Routes booking payments through the WooCommerce checkout instead of the built-in Stripe gateway. When a customer completes a booking, a WooCommerce order is created automatically and the customer is redirected to the standard WooCommerce checkout page to complete payment.
Benefits
- Use any WooCommerce payment gateway (PayPal, Square, bank transfer, etc.)
- Centralized order management alongside product sales
- Apply WooCommerce coupons and tax rules
- Unified sales reports across products and bookings
How It Works
- Customer selects service, staff, date, and time
- Booking added to WooCommerce cart as a line item
- Customer completes WooCommerce checkout
- On payment success, booking is confirmed automatically
- Booking details stored in both systems
Step 1: Prerequisites
- WooCommerce plugin installed and activated
- At least one WooCommerce payment gateway configured and enabled
- WooCommerce pages created (Cart, Checkout, My Account)
- Currency settings matching in both WooCommerce and WP Booking System Pro
Step 2: Enable WooCommerce Mode
- Go to WP Booking System → Settings → Payments
- Set the payment gateway to WooCommerce
- Optionally configure Product Mapping — you can map each service to an existing WooCommerce product, or let the plugin create virtual products automatically
- Enable or disable Redirect to Checkout (auto-redirect vs. manual "Proceed to Checkout" button)
- Click Save Settings
Step 3: Test the Checkout Flow
- Create a test booking on the front end of your site
- Verify you are redirected (or shown a link) to the WooCommerce checkout
- Complete the payment using a test payment method
- Check that the booking status is Confirmed in WP Booking System
- Check that a corresponding order appears in WooCommerce → Orders
- Verify the confirmation email was sent to the customer
WooCommerce Troubleshooting
- • Booking not confirmed after payment: Ensure your WooCommerce webhook or IPN is configured correctly for your payment gateway.
- • Price mismatch: Make sure the currency in WP Booking System matches WooCommerce. Prices are passed from the booking form to WooCommerce.
- • Cart conflicts: If customers already have products in their WooCommerce cart, the booking will be added alongside them. This is expected behavior.
- • Missing WooCommerce: The WooCommerce option only appears in settings when WooCommerce is installed and active.
5. Calendar Export (iCal / ICS)
What It Does
WP Booking System Pro generates a live ICS feed URL that any calendar application can subscribe to. This gives staff members a read-only view of their bookings in their favorite calendar app — no Google account required.
- Works with Google Calendar, Apple Calendar, Outlook, and Thunderbird
- Download a one-time .ics file or subscribe to a live feed
- Separate feed URL per staff member for privacy
- Feed updates automatically as bookings are created or cancelled
Finding Your Feed URL
- Go to WP Booking System → Settings → Integrations
- Scroll to the Calendar Export section
- Copy the ICS Feed URL displayed for the global feed or per-staff feeds
Example feed URL:
https://yoursite.com/wp-json/wp-booking/v1/ical?staff=all&token=abc123Subscribing in Calendar Apps
Google Calendar
- Open Google Calendar in a browser
- Click the + next to "Other calendars"
- Select From URL
- Paste the ICS feed URL and click Add calendar
Apple Calendar (macOS / iOS)
- Open Calendar and go to File → New Calendar Subscription
- Paste the ICS feed URL
- Set the refresh frequency and click Subscribe
Microsoft Outlook
- Open Outlook and go to Calendar → Add Calendar → From Internet
- Paste the ICS feed URL
- Name the calendar and click OK
One-Time .ics Download
If you prefer a snapshot instead of a live subscription, you can download a static .ics file from the Bookings page.
- Go to WP Booking System → Bookings
- Optionally filter by date range, service, or staff
- Click the Export .ics button in the toolbar
- Open the downloaded file with any calendar application
Tip: Feed Security
Each ICS feed URL includes a unique security token. If you suspect a feed URL has been shared with unauthorized people, you can regenerate the token from the integration settings. Existing subscriptions using the old URL will stop updating.
Integration Comparison
| Integration | Purpose | Credentials Needed | Auto-Send to Customer |
|---|---|---|---|
| Zoom | Video meeting links | API Key + Secret | |
| Google Meet | Video call links | OAuth Client ID + Secret | |
| Google Calendar | Bi-directional calendar sync | OAuth Client ID + Secret | N/A |
| WooCommerce | Checkout and payment | None (plugin-to-plugin) | Via WooCommerce |
| iCal / ICS | Calendar feed subscription | None | N/A |
Security Best Practices
Credential Safety
- • Never commit API keys to version control
- • Rotate secrets periodically
- • Use separate API credentials for staging and production
- • Limit API scopes to only what is required
Connection Monitoring
- • Check integration status weekly in Settings
- • Re-authorize OAuth connections before tokens expire
- • Monitor the Integration Log for errors
- • Set up email alerts for failed sync attempts
Integrations Configured!
Once your integrations are connected, create a test booking end-to-end to verify that Zoom/Meet links generate correctly, calendar events appear, and WooCommerce orders process as expected. If you run into issues, check the troubleshooting sections above or visit the full troubleshooting guide.
Next: Explore All Settings